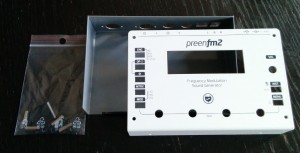
Here are the instructions to put together the metal case. You should have everything needed in this page if you ordered the preenfm2 full kit with the metal case.
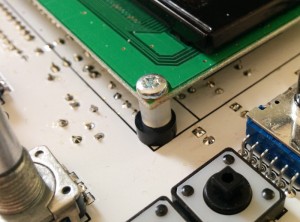
The metal case will look much better if the OLED is parallel to the metal top surface.
So you’ll need to add the aditional 3mm spacers provided in you metal case screws bag. Use the 2 18mm m2.5 screws that you’ll find in the same bag.
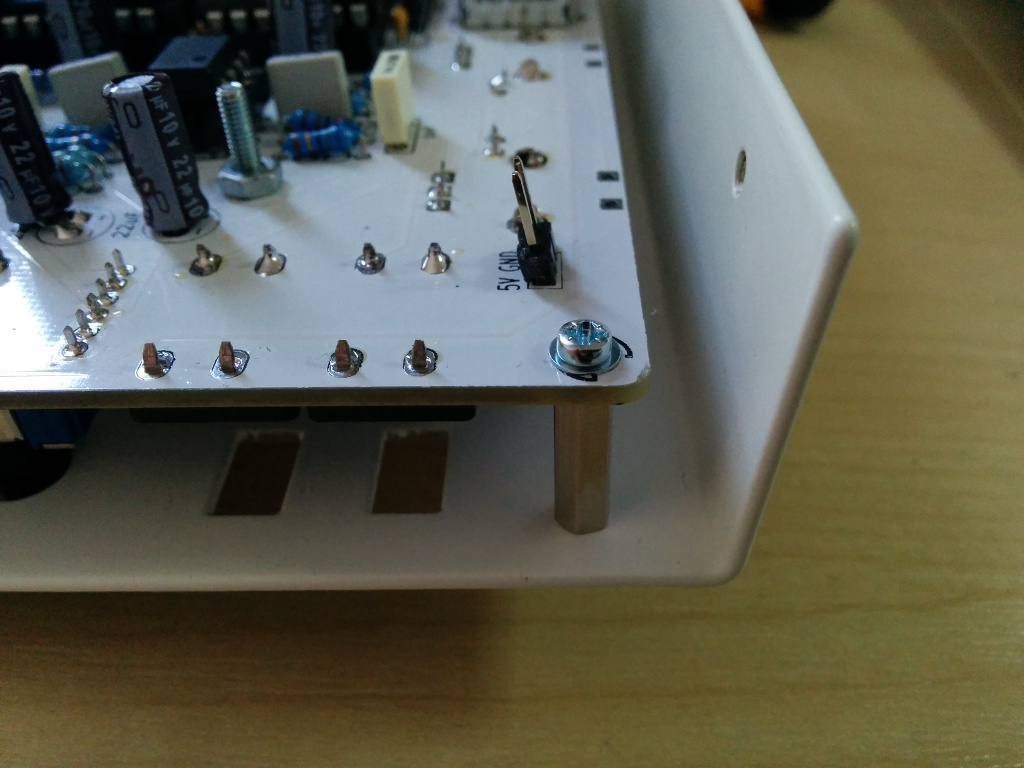
Then take the top part, use the 4 small black screws and fix the 14mm metal spacers.
Use the 4 other small screws with the washers and assemble with the PCB. Leave some slack and make sure the OLED is exactly in the middle of its hole on the other side, you can adjust it a little before screwing harder.
To easily assemble you bottom part, you’ll need longer DIN5 cable than with the other case. 10cm for each cable works well.
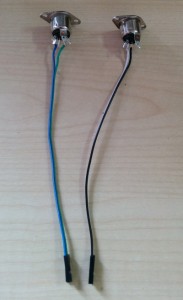
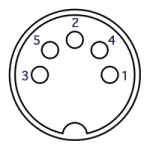
The used pins are number 5 and 4:
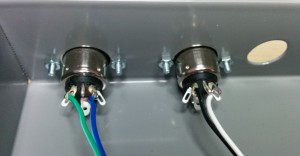
Then screw the 2 din5 jack to the bottom part.
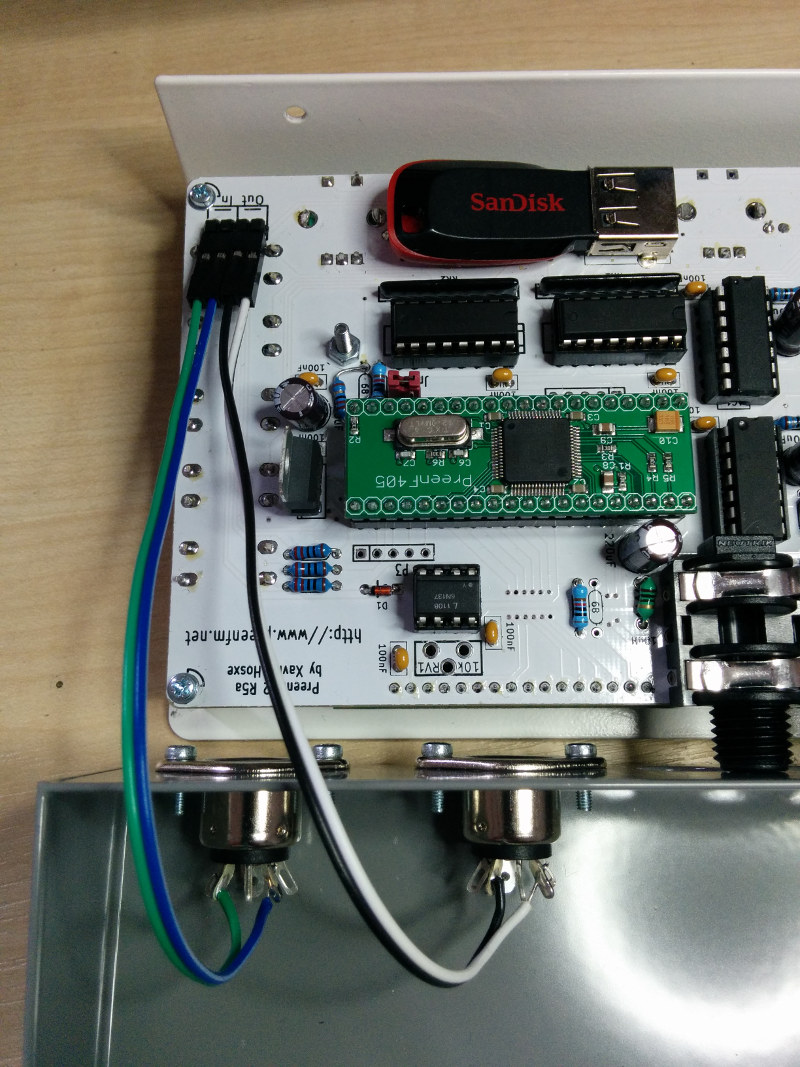
And insert the plastic part in the midi header on the PCB like on the picture bellow :
Close the box and use the audio jack nuts to fix the 2 parts. Leave some slack, you’ll screw them harder later.
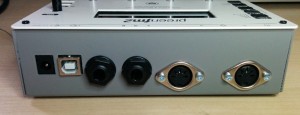
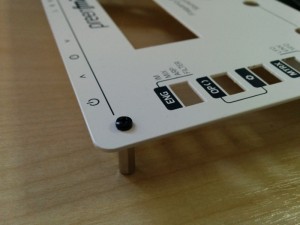
Use the 2 regular screws in the 2 front holes.
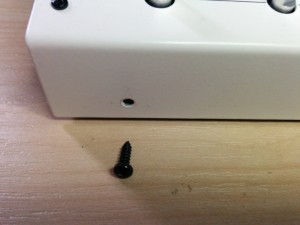
Then stick the feet on the other side. If the case is not stable on a flat surface, use the aditional bigger foot to make it stable.
On the pictures bellow the bottom right one is bigger.
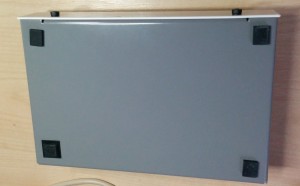
And you’re done.