Here is some instruction to build the case.
If you want instruction to build the old case have a look here.
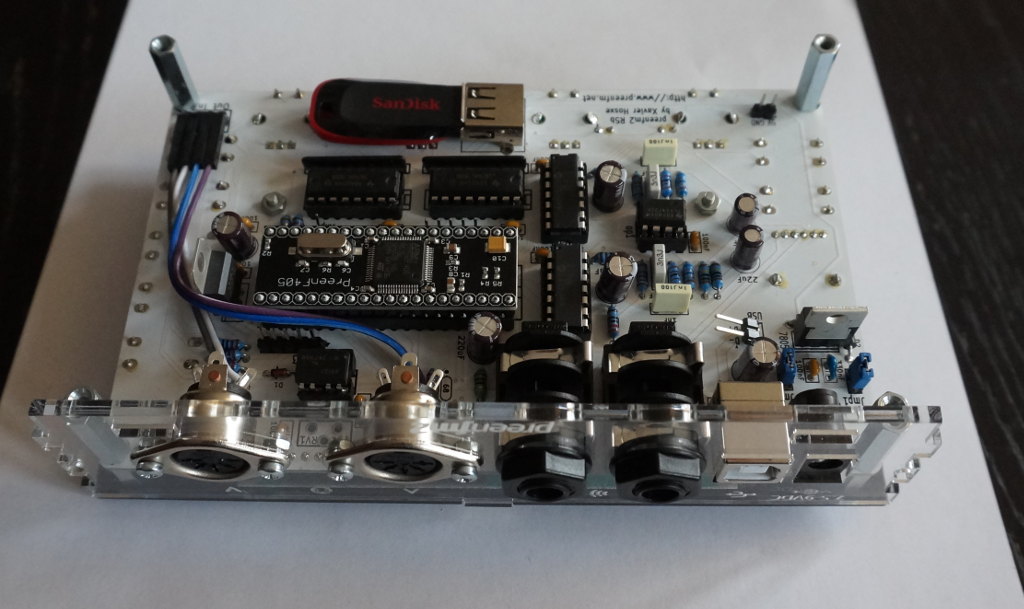
Here what you should have :
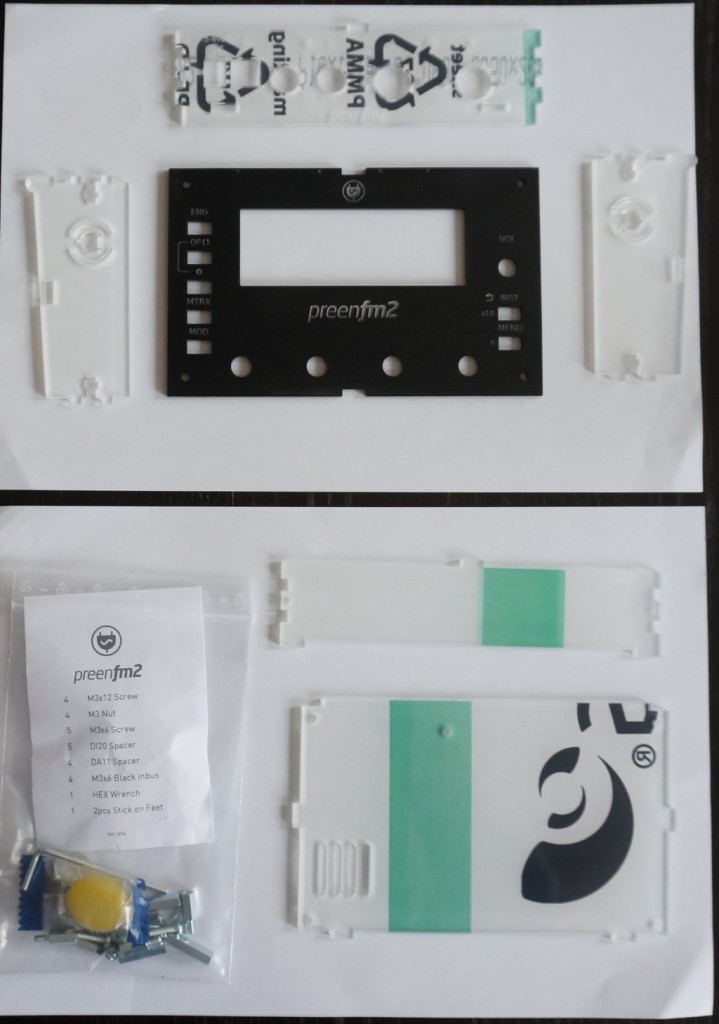
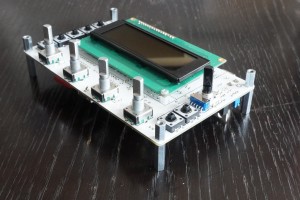
First screw the spacers on the PCB. The 11mm one is above, the 20mm ont is bellow. (You should have a 20mm left after this).
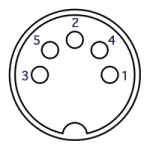
You can now solder the cables to the DIN5 jack. The used pins are number 4 and 5 and the schema bellow.
Then you can screw the two DIN5 socket to the back surface.
The longer one should be around 9cm and the shorter one 6/6.5 cm.

And fix this back plate to the PCB with the 2 audio jack nuts.
You can then plug the wire to the In and Out midi pins on the PCB.
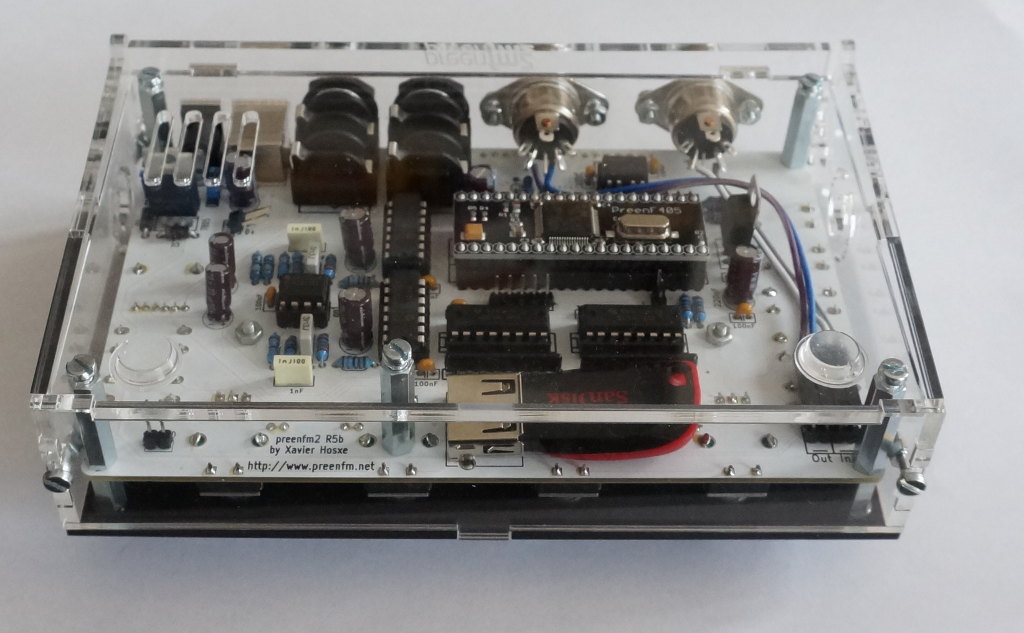
Next step, take the top surface and screw it with the 4 hex screw, use the provide hex wrench.

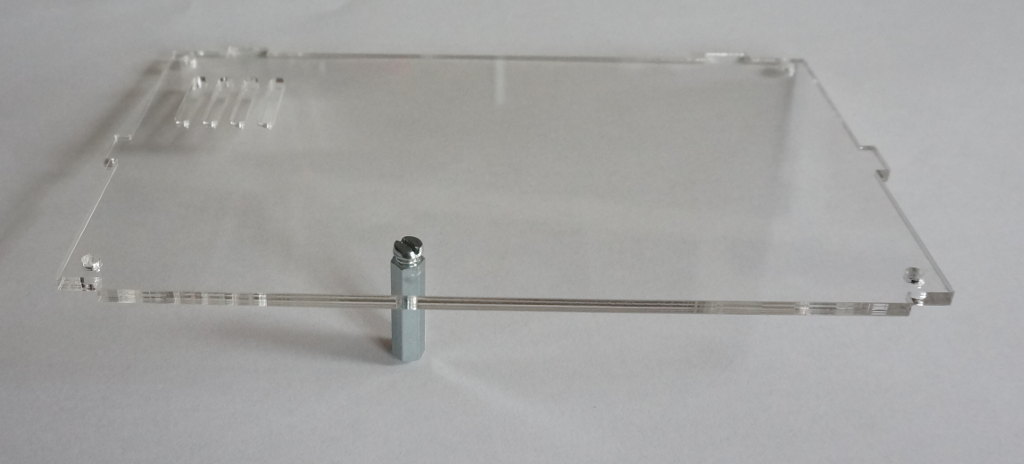
Screw the remaine 20mm spacer to the bottom plate. The goal of it is to support the PCB when you press the encoders.
Insert it into the back panel and screw the 4 spacers.

Now take the 2 sides plate and the front one, screw them together, don’t screw hard. The different part should be able to move a little for the next step.

Wrap the PCB with the 3 parts.
An easy way to screw at this point is to place the case in vertical position, insert the nuts correctly, then screw verticaly. That prevent the nuts from falling inside the case.
You may need to loosen a little the audio jack nuts, so that everything fits correctly.

At this point you can stick the 2 plastic feet.
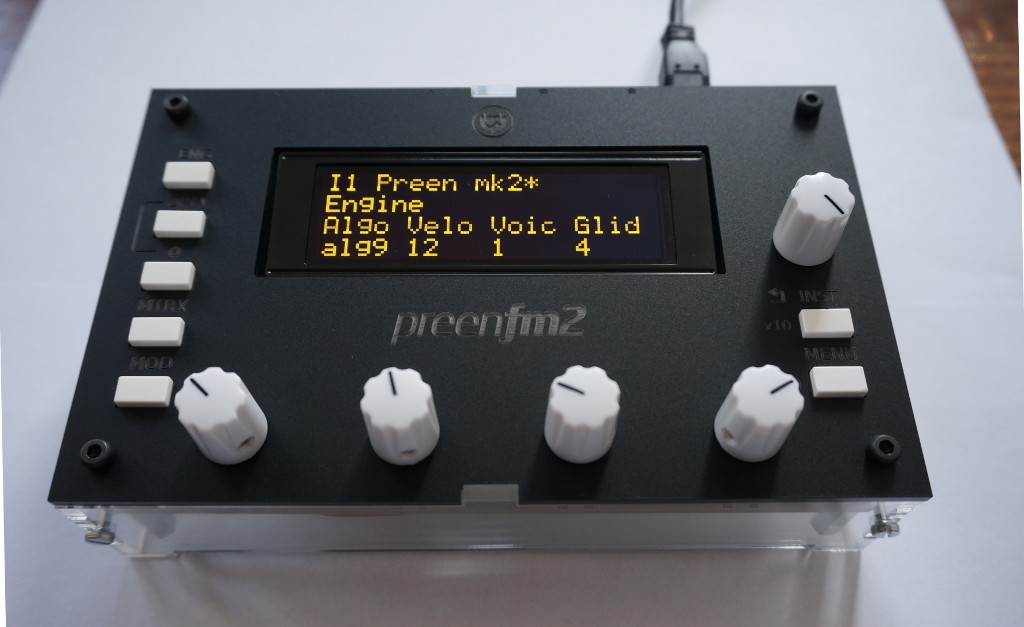
The you can insert the tacs and screw the knobs.
Don’t screw the knob of the 4 encoders against the surface controle, leave some space, else you won’t be able to click the encoders.